
I spent these couple of days tending to the bathroom. Oh MY what a chore that was! When I first started on this house, the area that I had designated for the bathroom was what suffered the most casualties. I *oops* broke a window and *oops* punched out the front wall trying to remove the interior wall. It was a total pain! I have the original pictures somewhere in cyberspace... or on a disc. James recently messed with my computer and everything got put on a disc for back up. I will track them down when I am totally done and do awesome Before and After shots.
Anyway, I had to reconstruct most of this room, which required scratch building two walls. Two walls became three when the house piped up about wanting a roof deck over the garage. *sigh* So there was lots of cutting, measuring, sanding... and then a slew of swearing and fit throwing when it didn't fit properly. And then some MORE of it when I knocked the wall down and it fell behind the dresser that the house sits on. ARGH!!!
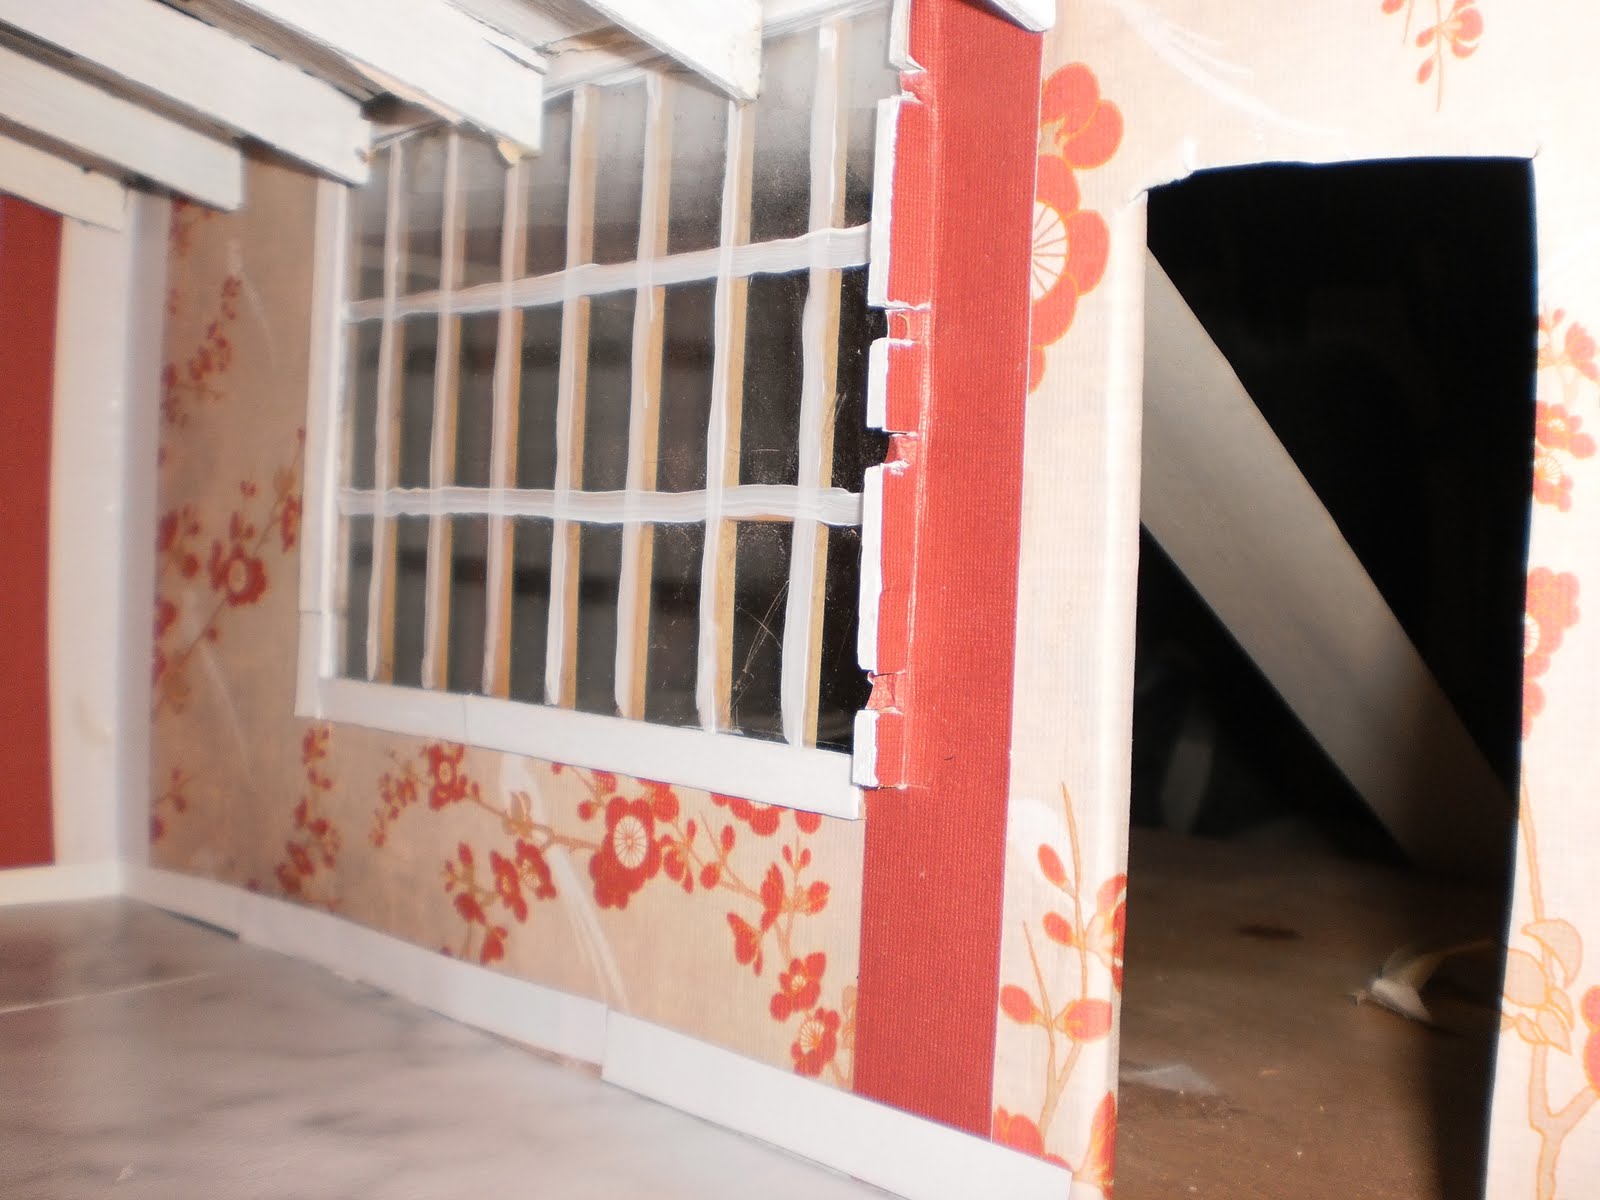
After catching my breath, and retrieving lost wall, I managed to get the back/front wall installed after I papered it. Before I could settle on a construction for the other wall, I needed to have a tub and toilet in place for layout purposes. Issue. I didn't have a tub or a toilet. Clearly, in Lyssa Land, this meant make it myself! I had been looking at tubs and toilets online to purchase, but couldn't find one that I not only liked, but could afford. (Large reason I started my Etsy site www.LyssasBudgetMinis.etsy.com)
I decided to tackle the tub first. I had know for quite some time that I wanted a garden tub or some kind of low back wall. I love the idea of being able to soak in the tub with a good book in hand and a glass of wine in reach. I started off by choosing the shape of the tub. I went with the corners-hacked-off-the-square shape, which allows the tub to be placed in a corner and accommodates a step.

Then I cut out a "tub" shape in the middle of that. I went with normal oval and offset it so I would have a shelf area for mini wine and books. :) Next task was to measure the sides of the main shape and construct the boxy look to the tub and the step. I chose the same $.99 Home Depot vinyl marble tile that I used on the floor for the top. This was craftily cut at a corner to put the oval in the middle of it and then the seam was super glued back together. The faux marble was then placed on top of my tub "box." I originally wrapped the tub with a blue wallpaper scrap just to cover up all the seams from the foamboard.
I tried to use cold porcelain to make the actual bathtub part, but that was an epic sticky failure. It made a total mess of the paper and I ended up painting it glossy black. The tub part has since been made with paper clay. Which brings me to the next part of this story!
The TOILET!
I was just messing around when I made this and I was amazed when people actually thought it looked good! I used foam board, paper clay and Aleene's tacky glue to make it. I made a basic toilet shape out of the foam board and then glued it all together. When it was dry, I wrapped it in paper clay, taking care to smooth it out. When it was dry the next day, I painted it using Glossy White and Glossy Black. The flusher was painted silver.


I WILL do a more extensive tutorial at some point, pictures included. :0
After I was done with those, I finished up the other wall, choosing a nice Asian print that went well with the red that I used. I still need to make sinks, but I think the end result (so far) is pretty awesome!
Some shots of the final product:


Que gran trabajo, esta quedando genial!!!
ReplyDeletebesitos ascension
¡Gracias! Espero que pueda reproducir los aparatos "en casas allí para el futuro.
ReplyDeleteEl esfuerzo ha merecido la pena, Te han quedado muy bien.
ReplyDeleteLa bañera esta genia.
Besitos, May