Sunday, August 15, 2010

August 10th: An hour of my Tuesday


Look what you can do in an hour with some scrap wood and cardboard, craft sticks and pen parts! I was inspired to do this after someone on the Greenleaf forum scratch built a stove in 1:24. I was like, I can do that! And I even thought I could do it with an opening door and drawer. I still have yet to put the knobby doos on it and the interior of the oven has been painted a shiny metallic black color. It occurred to me that the inside of the door and drawer would also need to be painted this way. At the moment, I am trying to figure out what would make a good rack. I'm assuming some thick paperclips will need to be bent just right.

In the future, I would like to put one of these in a house that has been wired and run a light to it to make it appear that it is baking something yummy!!

August 9th: Tackling the kitchen, finally!


This house has always wanted a loud and bright kitchen! Today, after I was sure that the ceiling was firmly attached, I set out to finish up the kitchen. First thing was to do the ceiling. It got a good coat of joint compound and smoothed out with one of those credit cards you get in the mail 5 times a week. While that was drying; I measured, cut, sanded and painted all the trim. I went with a close pink shade that is seen in the striped border paper. It is a combination of Christmas red, neon pink and Shiny white.
After that was dried, it was secured in place with tacky glue. I love that stuff!

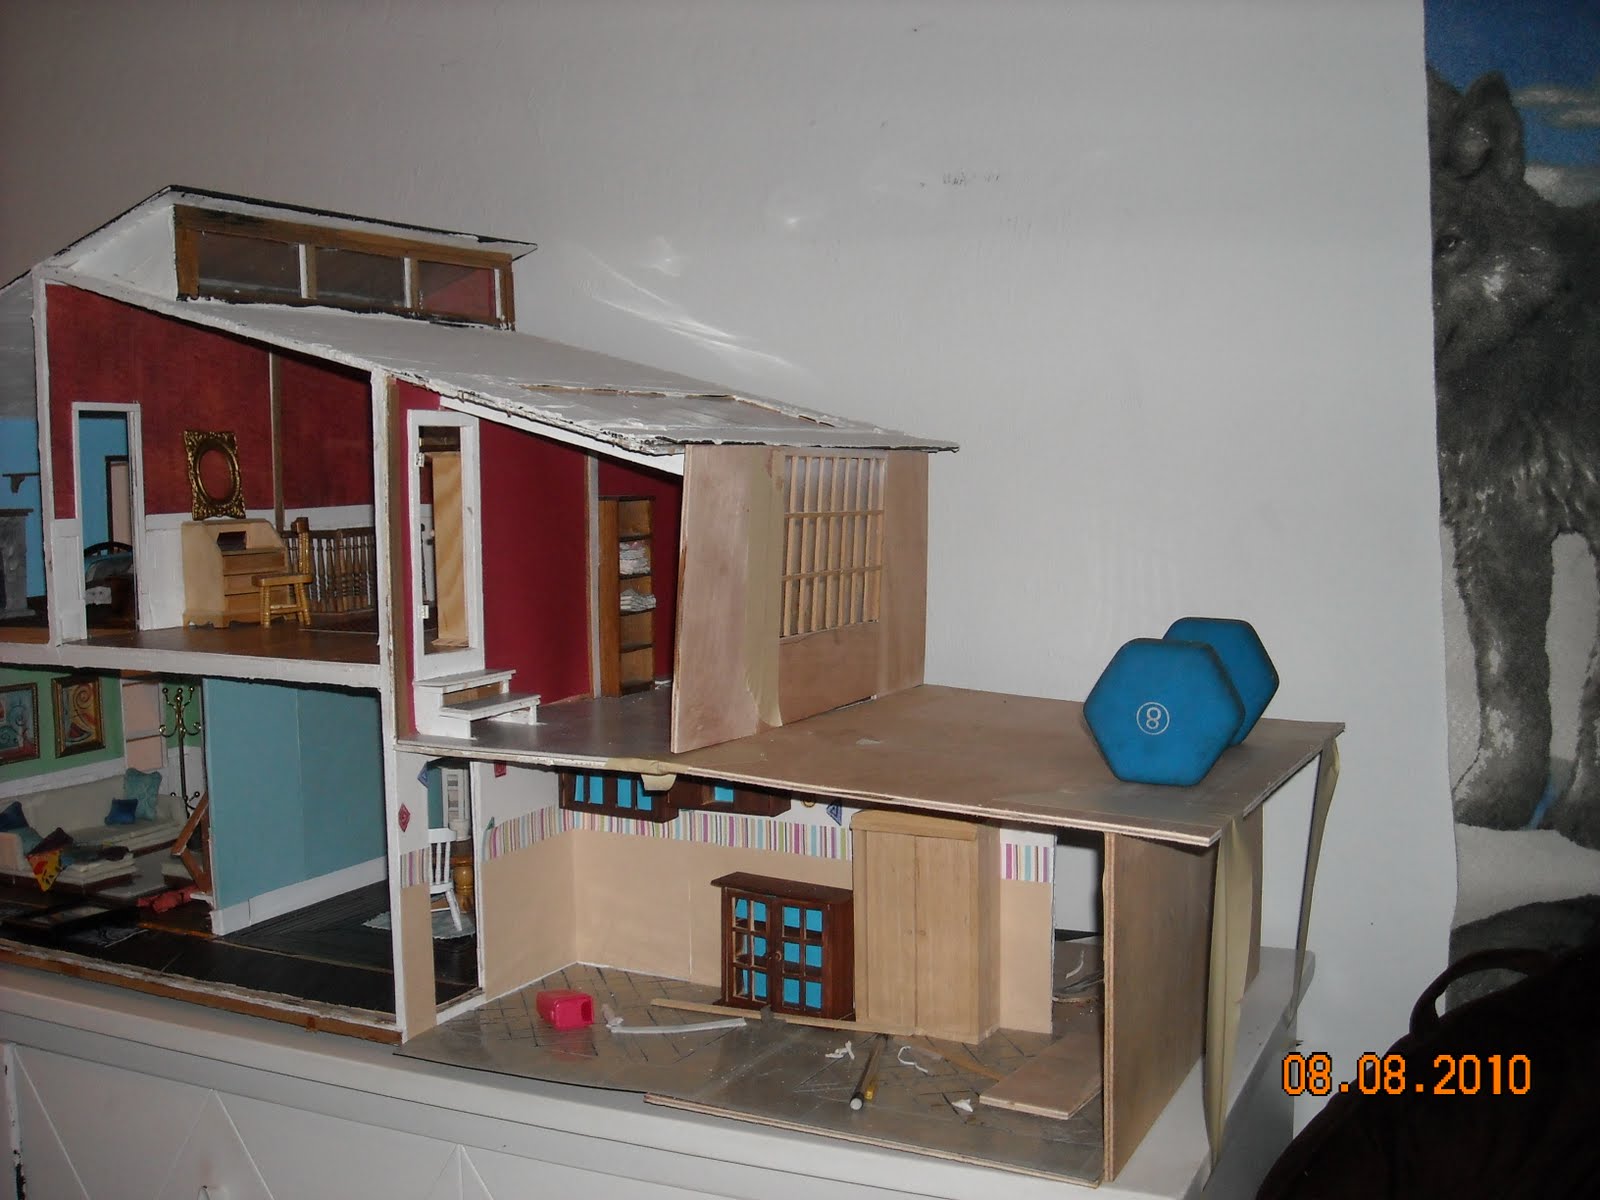
Once all that was done, I decided to tackle a couple of lower cupboards. I chickened out on giving them working doors though, but they still turned out pretty good, I think. Besides, I redeemed myself later. ;)


These counters were made with some scrapwood, mahogany stain and wallpaper scraps that happen to resemble marble. There are 5 pieces of luan plywood that were cut to form the main structure. Once assembled, it is 3" high x 4"wide X 2" deep. The cupboard doors and drawers are made from some scrappy pieces of basswood that I had. I had purchased a bag of squares and rectangles some time ago for inane projects. Once everything was all glued together, I stained it with Plaid's mahogany water based stain and then washed parts of it with sky blue. I really like the effect this achieved. The countertop itself is made from some RL wallpaper that I have. It happened to look like marble and looked wonderful in the kitchen. I cut and folded it to size and secured it with tacky glue. The backs of the counters are left open, in case I want to make working parts later on down the road.


I made another one and bashed the top of a Micheal's hutch onto it and made my own hutch. This will end up holding all the dishes, I think. I am currently thinking about adding a ceiling pot holder thing. Ya know, where the pots hang down on that big brass or iron contraption from the ceiling? I've always wanted one of those in RL! And like I say, if you can't have it big, make it mini!!!

The upper cupboards are attached with a poster material that allows me to move them all around. Good thing, too, since I can't decide on a layout!!!

Weekend #5: August 8th, Cutting up some wood!

The only objective for this weekend was to get the wood cut up to do the kitchen and the bathroom. I needed to cut various pieces for the walls and the roof. I also needed some various pieces for the counters, stove, sink, door and trim. Windows needed to be reworked and the rooms needed to be dry fitted so I could figure out furniture. In this picture, you can see that I have attached the roof. It is being weighted down and taped down. Unfortunately, it is a LOT flatter than I had intended it to be. I meant for it to be the same angles as the rest of the roof line.... but this house has different plans for itself. The bathroom will need some fudging again. A removable interior wall for one! That staircase you see there, will actually lead into a hallway PASSED the bathroom to an exterior door. That door will lead to a sun deck that goes over half the garage and the kitchen. We had something like this on a house we rented in Idaho....except it came off the living room... I think it will be a nice addition. I haven't asked this house if she still wants the tiny side deck off of the craft room. Honestly, I'm afraid the answer will be yes and she already takes up ALL of my workspace. GAH!!!


The bathroom wall needs to be wallpapered and sanded down. I also need to cut one piece to now allow for the necessary hallway and door. Hopefully, that will get tackled next weekend.

Saturday, August 7, 2010

August 4th: A mini bed, fully dressed!

This is mostly a picture post. I just wanted to share with the blogosphere, this little nugget: I made my very first dressed bed on Wednesday, August 4th, 2010. I'm no seamstress, but everyone keeps telling me how great it turned out.

The mattress was a simple design of some foam board, a thin layer of sponge and then wrapped with white fabric. I glued this fabric in place and used flat head pins to hold it in place until it dried.

I used some old scrap fabric that my mom gave me to make the patchwork quilt. 3 squares sewn together, then 3 rows sewn to each other. I put on a fourth row to resemble the folded over part when you make a bed. I stitched a blue backing onto the top of the squares, then turned it inside out and finished the seams of with the brown edging stuff.... bias tape, I think.

The pillows are made from a white fabric I had and filled with birdseed. The pillowcases were made in the same fashion with the blue fabric, turned inside and then the edges folded over. At some point, I think I will stitch the folded part to the main part of the pillowcase. The white pillow was then stuffed inside the pillowcase and "fluffed."

The throw blanket at the bottom of the bed is the same fabric as the pillowcases. This was folded properly, ironed flat and then joined the quilt on the bed. A pulled it tight, situating it just right and secured it with a gazillion flat pins. To keep the edges of the blankets straight down, I pulled masking tape taut across the bottom of the bad and attached it to both edges. When everything was in place, I drowned it in aerosol hairspray.


Once the hairspray was dry, I removed all the pins, placed the pillows and this was the finished product:


Here it is in it's new room with some of the furniture!

Friday, August 6, 2010

Weekend#4: August 1st, The bedroom

I'm not sure what day exactly I did the bedroom... I think it might have actually been Monday/Tuesday. Yes, that's it. The family had a yard sale on Saturday, so with my earnings, on Sunday, I bought some much needed stuff. I bought staples like paint, glue and scissors; along with fun stuff like fabric, skeletons and tiny TV. The BIGGEST purchase was a big ol' bucket of joint compound. I got this to do the ceilings and the exterior of the house. Instead of sanding all the siding down, I plan on smoothing over it all with the JC and giving the house a stucco finish. The pillar/column that goes over the door is going to be covered in river rock and the whole house is going to get this golden brown biscuit color. It looks great.

So, Sunday night, I went ahead and put JC on the roof and then on the ceiling/wall of the bedroom. That was all I could do since the stuff needed to dry overnight. The next day, while the JC was still drying, I made the floor for the bedroom. I kept it in a natural wood color and filled in the empty square with a piece of brown felt, for carpet. The way it is placed, it looks like an area rug. The craft stick part of the floor got one coat of varnish.

When the JC was dry, it got a couple coats of paint (sky blue) and the other wall got some dark chocolate wall paper. Trim was done in the opposite colors. I am going to turn the little alcove area into a closet and use hanging fabric as a curtain, instead of installing a door. The closet will have a rod for hanging items, some shelves and a shoe rack.

This room is also getting a fireplace!


Monday, August 2, 2010

July 29th: Tiny details

First of all, HAPPY BIRTHDAY TO MY LITTLE SISTER!!!! She turns 22 today.

Secondly, I spent the morning doing details in the dining room and den. I couldn't do a whole lot since I was going to have to leave soon. Our family had a garage sale and I needed to go prep for it. (Writing this on August 2nd, I have been deprived of mini's for 3 days now!!!)

So, on Thursday morning , I managed to make curtains, paint the chairs white and put "wicker" on them, make a vase (it will have bright pink flowers in it). ... I also put in dividing window pane things and some rugs. Here are pictures of those developments, plus some more of the house. I am hoping to get some more trimming done today in the various other rooms.... hmmm, and at some point, not sure when, I stained the kitchen cabinets.


July 27th and 28th: Knock out study


I realized that I never took pictures with all the trim up! It makes a big difference, in my opinion. Keep an eye out for the finished trim in the living and dining room in future pictures!

This night and day were very productive for the library/study... or as my Dad calls it "The Den." It started with going over to James' mom's house and finding the perfect material for the floor and the perfect paper to put on the walls. The floor is made out of a sticky vinyl tile that happened to have a wood grain finish. I cut out the corresponding squares and filled in the floor. I also put some up top in the window ceiling cut out thing. (Enjoy me terminology!) The ceiling got a sand colored paper, which I really liked, except for the paper slipping a bit and causing a rather rough and obvious seam. *snarl* How to fix that???

I also cut out the paper and installed on the walls along with all the door trim. After just this little bit of work, I called it quits for the night.


In the morning, after the kids were settled down for quiet time, on went Supernatural * =) * and out came the craft sticks and scissors. A gazillion craft sticks later, bunch of white paint, masking tape and tacky glue.... the DEN gets white wainscot paneling to match the flow of the house.
My three year old son took this picture to the left while shining a flashlight into the room "so you guys could see the house." He doesn't quite understand that this is, indeed, the point of the flash on the camera. =)


It also gets an original and unique "distraction" from that nasty seam. This is my favorite part of this room.