Saturday, June 25, 2011

Detail Shots of the Spring Fling Build

This is an eye candy post! I just wanted to show you guys some more of the finer details of this build. :] I am so proud of it.


This shot is to show you the mural better, along with the sidewalk art. I made the lamp out of black polymer clay and the side walk is MDF board.


Here is another shot of the mural:


The sign is made out of cardboard. I glued ribbon around the edge and painted it using Bittersweet Chocolate from Americana. That is also the color of all the trim.


The mailbox is made out of fimo, too. The stucco you see on the exterior of the building is watered down Elmer's Wood Filler that I sponged on all over. The color of paint is Glidden's Gold Coast White.


Like everything else, all of this is made. The bench is a random kit I had lying around in my pile of stuff. The tree is wire armatures wrapped in brown floral tape and covered with goops of wood filler. The foliage is finely chopped reindeer moss. The parking meter is fimo. The pot in the background is wooden candle holder with random clippings of silk plant filler and floral tape leaves.


This was a great shot of the Beemer. :]


Another shot of the planter on the corner:

The trash can is made out of fimo, a clear film canister and some mesh stuff that I stole from James. :]

The mural in progress on the other side of the building:


A great shot down the sidewalk:


Some detail in the studio:


Scratch built counter, printie cash register, plastic bags. See? I told you all that the subtle window shades would work!


A close up of some of my art. These will all be on etsy later on (if someone doesn't buy the whole house, out right, that is)


Oh! I forgot to mention that those flowers are not made by me either. I bought them last year at a craft fair.


Close up of Second story art:


More second story art; the teeny tiny tags are what were giving me trouble a few weeks back. I would have them lined up perfectly on the computer and then they would print out all whacked out. >:[ Very aggravating!


More paintnings!


The lovely shelf I got from Ann of Amazing Miniatures a while back. I sanded it a bit and then painstakingly painted it.... I like it though!

Downward shot of the supply room. Everything in here is made.


I used to watch Bob Ross's show every afternoon when I was growing up. :]


All the little bottles are made out of white fimo that I painted to give a messier finish and then applied a printed label to them. The cupboards are bashed Michael's hutches.


A roll of drafting paper, Bucket of pencils. Paintbrushes are fimo and real bristles. You can actually paint with them!


More art accessories and a couple aprons to keep the students from getting too messy. These ones in particular are new and still clean. :] A step stool has been provided to reach those items on the top shelves.


Wash buckets for outside mural work.


A cash donation box for supply funding for the students. The owner makes her money off of the tuition of the class(es) only.


I made the inspirational posters by taking quotes by famous artists and putting them on pictures of their artwork or a simple block of color. I then printed them and covered both sides with contact paper. The display rack is made out of a stiff white fabric and some craftily put together wood scraps. ;]


A great detail shot of paint supplies:


I loved the lighting in this picture:

"Do not fear mistakes-there are none (in art)" ~ Miles Davis
"Art washes away from the soul the dust of everyday life" ~ Picasso
"The aim of art is not represent the outward appearance of things, but their inward significance." ~Aristotle


A color wheel to remind the students how to mix colors!
"Art is not what you see but what you make others see" ~Degas
"There are painters that transform the sun into a yellow spot, but then there are others who, thanks to their art and intelligence, transform a yellow spot into the sun." ~Picasso


A modern metal roof with skylights!


It is pretty snazzy looking, isn't it?


Front of the Gallery:


Peeking in the window:


How stinking cool is this? :D o.O


A shot at some of my found sculptures and one that I made. I stacked all the punch outs from the tiny windows!


Monopoly horse guy gets a makeover!


"Whether you think you can or you can't, you're right" Part of a necklace. It has a match on the other end of the gallery.


The rustic balsa frame is my favorite!


I love all the paintings in here!


Check out the cool paper cranes I got from Ann! They were a gift from her and this is a great use for them!


Here is another one along with my faux light:


I made these lights using tiny terracotta pots that I lined with foil and painted white. The "light bulb" is a clear plug from the good ol' Lite Brite!


Fun shot of the second story in the Gallery:


One of my favorite shots out of the whole 115 I took!
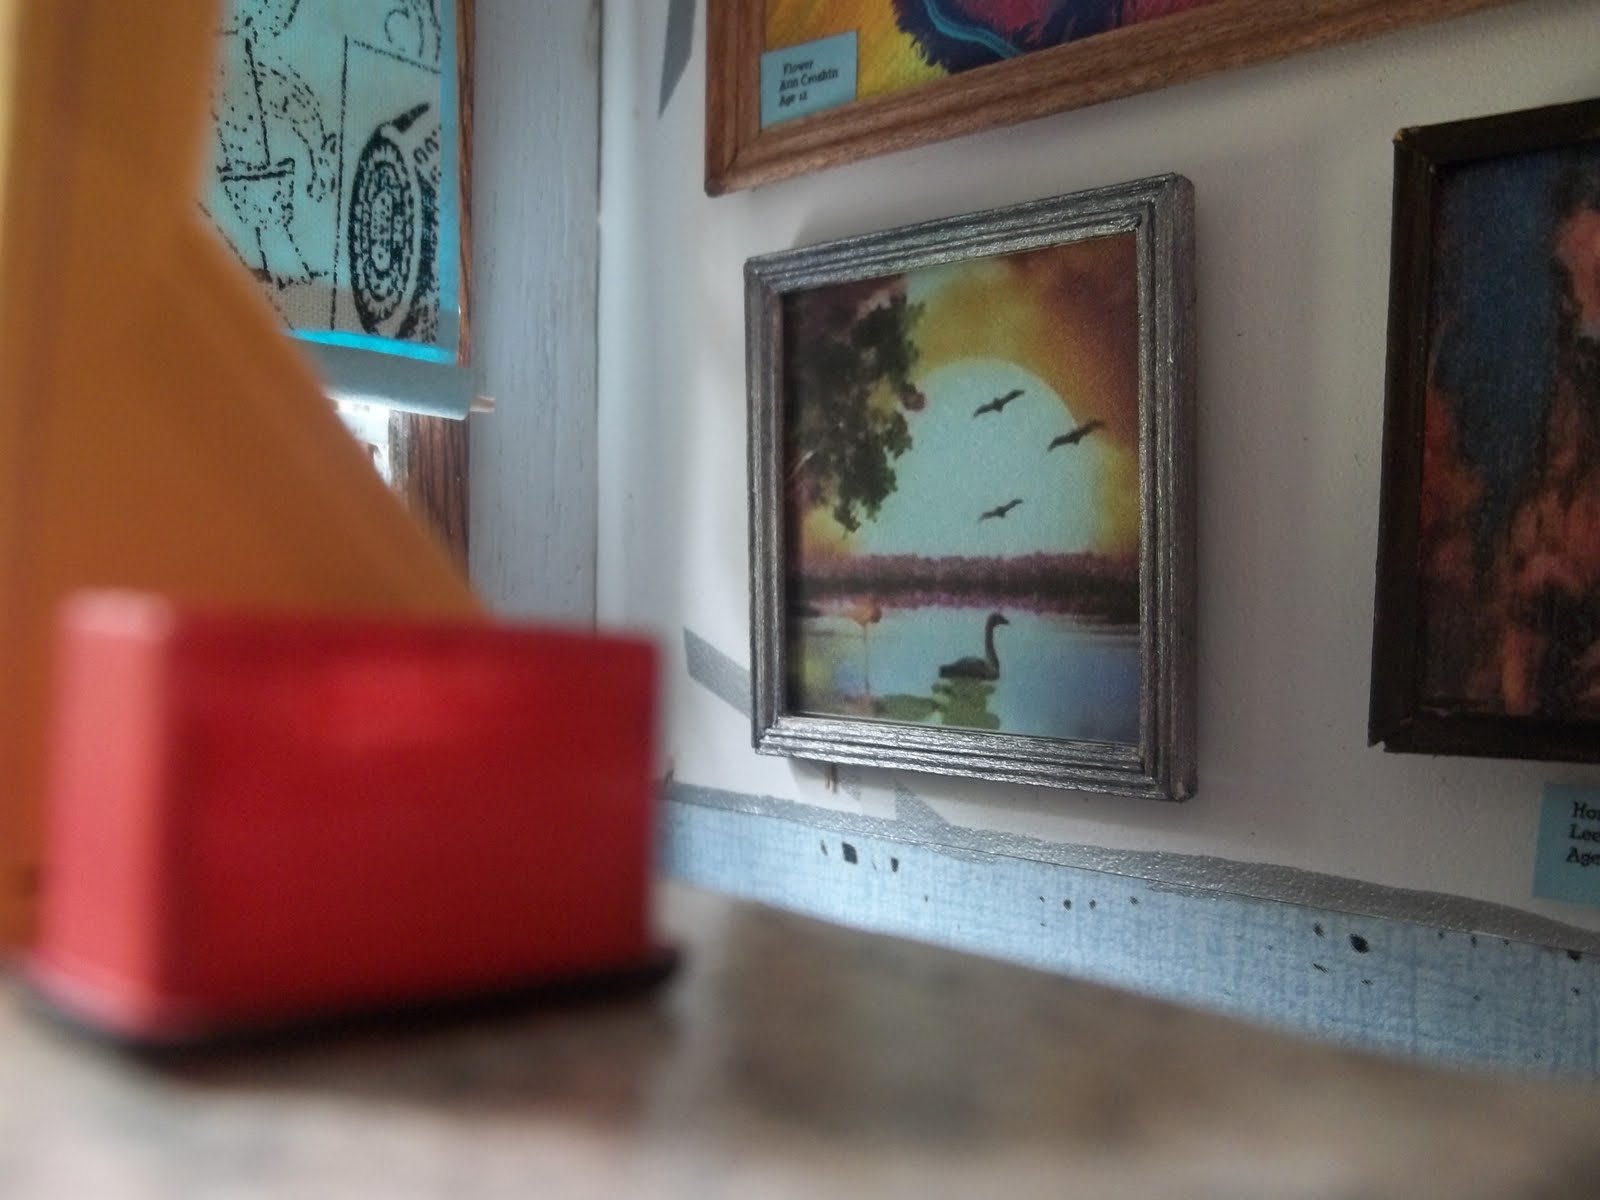

Painting is a messy job sometimes!


A good set up for mural painting.


Wrapped gallery canvas? Why, yes, I did. :]


Awesome light for this detail shot.


A close up of the messy paint sink. The students here are much better at taking brushes, palettes and cups out of the sink then I am in my own studio. ;)


"If I could say it in words there would be no reason to paint" ~ Edward Hopper


Fabulouuuuus!


And a final shot of the outside:


Hope you guys enjoyed the pictures! I had a wonderful time doing this build. It is my very first completed project and I am so proud to have done something from scratch from start to finish. :]

Ageless Promise: A Gallery and Studio - Spring Fling 2011

*****It is my goal later on in life to open a gallery and studio for the community to teach people how to paint and draw and sculpt; give kids, young adults and adults alike, a safe space to create and express themselves. I also want to give the undiscovered and unsupported artist a chance to show their creations off in a professional setting with opportunities to be *discovered* and make sales. As an artist myself, I know how hard it is and how discouraging it can be to get your foot in the proverbial door. Since it isn't something I could conceivably achieve at this moment, I decided to make it in miniature, and I think the results are glorious. The name Ageless Promise comes from my deep seeded belief that anyone, of any age, can produce beautiful works of at art at any time, even if they have never put brush to canvas before. I believe, that everyone holds artistic promise and has an undiscovered potential, no matter the age. ******


The moment you all have been waiting for! The grande unveiling of my Spring Fling build! Hold your horses though, because I have some background information first. No cheating and zooming to the pictures!!!! I mean it!! Get your finger off the scroll button!!!

I came up with this idea for this kit as soon as I saw the kit release in March. I have been wanting to do a gallery with an onsite student studio for quite some time now. I had seen kits that suggested they would work well with it, but none that screamed: I AM A GALLERY! at me, until this new kit. The idea came to me quick, along with color schemes, which parts to use, what to make... I could hardly keep up with the creative process that was in my head. I feverishly ordered everything I needed and then proceeded to check my email, like, every five minutes waiting for Greenleaf to say that they had shipped it. I was pretty cranky by day 2 and no shipment and I was downright crotchety and snarky by day 7.... I was reading all over the forum how people had already received theirs (but ordered after me) and putting it in dry fit. WHERE WAS MY KIT?!?!??! Surely, I would not have enough time to finish if they did not get it to me soon! (Take note, I am writing this more than a week ahead of the deadline, so clearly, I had enough time.)

When it did finally get here, I was elated! And I put the whole thing into dry fit within an hour. :] Did I mention that I LOVE laser cut wood? I feel so sad for the 3 die cut kits in my craft room. :[ I will be cursing them with my splinter ridden fingers and piles upon piles of sandpaper.

So. I suppose I will just show you the finished product first and then there will be a series of posts about the process. The very long, long process. I learned quite a bit with this experience though. For example, watered down wood filler makes a FABULOUS mini stucco. It really is better to measure twice and cut once. It is a ton easier to paper/paint BEFORE you build. MDF is a fabulous wood for a base, but I am not sure I would use it for a house...

And as a tid bit of important information. nearly EVERYTHING in this house is hand made by me with a few exceptions:
1)BMW out front is something I borrowed from James.
2)Metal statues are painted Monopoly pieces.
3)Display shelf is an original mini from Ann of Amazing Miniatures
4)Hanging origami cranes are also from Ann.

Everything else, is scratch built or bashed by me, including all the tiny paintings. They are all original works of art and I used an actual paintbrush and acrylic paint on tiny canvas. :]


The front-left view of Ageless Promise:

The back-right view of Ageless Promise:


The studio addition:


The supply room:


Bottom floor Gallery, left side:


Bottom floor Gallery, right side:


Top floor Gallery:


Sunday, June 12, 2011

Rolling Window Shade Tutorial

Enjoy!


Items Needed:

a few clamps (clothespins and balloon weights work well)
card stock of your color choice
patterned paper of your choice
a small dowel
a toothpick
tacky glue
craft glue stick
scissors
straight cutter (or something to ensure you get a straight cut)
embroidery thread

Step 1:
Measure your window from outer edge of frame to outer edge of frame. Cut your dowel to this length. If your window is bigger than the length of a toothpick, substitute a smaller diameter dowel, of an appropriate length.

Step 2:
Decide if you want your shade all the way down or how partially down you would like it. From here on, I will have a partially down window shade. You will need to cut a piece of the card stock that is just (1/8"-1/4") narrower on each side of the dowel.
Example: If your dowel is 3" then cut your paper between 2 1/2"-2 3/4" wide.

I cut my paper 2 1/2" x 3" for this tutorial.


Step 3:
Dry roll the paper around the dowel to give a started curve. This makes it much easier, I promise! Run some tacky glue and smooth it out down your pre-rolled curve. Wrap this around the dowel and hold firmly. Use a toothpick to put a bit of glue on the top back edge of the paper. Roll it a little bit more and then clamp.


Step 4:
While that is drying, cut your second paper or fabric to size matching the length of unrolled paper. You can go from edge to edge or you can leave a sliver on each side of the secondary fabric to show the card stock ( I prefer this look.)


Step 5:
Un-clamp the rolled part and use the Craft Glue stick (I use an Elmer's one. The tube is orange and you can find it at Walmart in the scrap booking aisle) to apply glue on the flat part of the paper (what will be the shade). Glue down your secondary paper/fabric.


Step 6:
At the bottom of the shade, glue the toothpick or smaller dowel using a thin strip of tacky glue. Wait for this to dry.
*** You can choose to leave it this way OR you can roll it up, glue and clamp OR you can skip this and use the next step.

Alternative Step 6:
Cut a small strip of paper same width as the shade but maybe only 1/2" tall. Glue the toothpick or small dowel to the bottom and roll up, (same as the beginning steps of the shade) leaving some paper exposed for the next step.


Step 7:
Use tacky glue to attach the strip of paper to the back of the shade, making sure that the edge of the shade is pushed up slightly under the paper rolled toothpick.


Step 8:
Tie a small slip knot in on the end of the thread. Cut off the excess length from one end of the knot. On the other end, cut about 1" or so. Put some glue on the long end and then attach to the back of the shade, creating a pull down string.


Ta-da! A pull down shade. :)