Sunday, March 17, 2013

Ceilings, trim and attic...

It's been a busy week here at the Bowen house.  I am not entirely sure why, but it sure has been.  Well, I know why yesterday was busy....I had lots of work!  I did face painting at a rodeo, had to take the boys to a birthday party, and then to my oldest's school carnival.  We were going to go to the museums kids archeology day, but we were all too tired.  So instead, we came home, had some food and rested.  The boys passed out on the couch watching Wreck It Ralph and I seized an opportunity to get downstairs.  All said and done, I got about 7 hours throughout the whole night to work on ET.  Good thing, too!  The deadline for Undersized Urbanite is fast approaching!  In fact, its the same time as Cayce's birthday.  And if you're a party throwing mom, you know how much time that takes, which means I need to be done with my entry in a couple weeks.  OI!

So last night, I tackled a few things here and there.  Trim in the living room, the ceiling in the living room, the floor in the bedroom the ceiling in the bedroom.... cut new windows in the attic, papered the walls, staged a mock up of what I want it to look like... prepped more of the outside for I am going to do to it, drilled holes for lights and rerouted the wires, mini waxed everything in place....  And I think that is it.


Here are my clamps, and stack of speed shingle assistant, putting the stairs in place.  Yes, I realize there is not railing, but mini OSHA will just have to deal with it. :P   The railing made it look all bulky and gross, even though the measurements are to scale for the landing.  Whatevs.  So, no drinking and scaling the stairs at the same time!!!
 Door trim!  It is all painted Snow White by Americana.  Not sure what happened with that gap there above the front door...and since I don't have any of that paper left, I will have to come up with a creative design.  :/  You will notice, too, that the front door is "backwards."  This is on purpose.  I know doors usually open into the home..... but that takes up so much room!!! So this mini person will have a harder time bringing in groceries... I am sure they will be fine.  :D
I love how adding trim to a room suddenly grounds it and makes it look more complete. I made tiny plugs for the wall lights following Brae's wisdom.  I had to cut a bead in half though, which was a total B.
 Such a fun, fun room!!!

You can't really tell here, since I am still learning the new camera, but I painted the shelf under the stairs, Berry Red by Americana.  It looks awesome.  :)  And I need to pick a show for the tv...
                                  

 The bedroom got a chunk of the premade walnut floorboard from HBS.  Brae, you were right, I love the stuff and I am having a hard time convincing myself to make another floor for the attic!!  The floor was stained with Special Walnut by Minwax a then got a thin satin seal.  I took the mullions out of the french doors so I can stain/paint them accordingly.  The curtains got pinned and sprayed, too, and should be ready to go up in a couple of days.
The Murphy bed looks so good in here!  This room is simple, but still full of all sorts of things, and I love it.  Before I start on the attic flooring though, I need to make up my mind about the light here.  I like the look, but not the blue LED...or the big fat battery case.  But I don't mind the brass.  The whole point of ET is a Victorian that is being modernized a little bit at a time.
The attic!  So there is a treatment for the back wall that I really want to do, and it would be easier with a not round window.  Enter the non-working window...on it's side.  Prepping the attic was a lot of work.  I had to pull out old trim, sand a ton, sweep up the mess, scrape off nubbins of glue...  UGH. Then I got this really great paper and went to work.  :)  The whole idea for my attic is half relaxing getaway and half storage.  Looks like a nice guest room area.  
 There will be things that aren't used in the main house, holiday decor, boxes, random junk and some suitcases.  I would love suitcases like the ones Brae just got from Fran, but I have matchboxes that I will make into old brown ones.  See them in the pile there?

 The mattress is being borrowed from the Murphy bed, it will be smaller than this. The pillows are borrowed from the Nook.  The lamp, tables, vases, radiator and trunk will stay.  The trunk was a gift from Brae.  I thought, originally, that it would hold the battery casing for the lights in here, but it is too small.  So I will fill it with blankets and games and such instead.
 And finally, an overview of how the house is looking on the inside all together. When can I move in?!

 Before I tucked in for the night, I made a list for each room of things left to do and accessories I wanted to add.  I love how you can make a dollhouse look well lived in by just adding the teeniest of things.  :)

Monday, March 4, 2013

Branch Lamps! (Tutorial!)

My whole miniature blog and love for miniatures stems from a love of design and interior decorating.  What really attracted to miniatures was that I could decorate full houses and rooms in any style I wanted, over and over and over... and usually, for a fraction of the cost that I would spend on a real house.  Since we aren't home owners, there is only so much "decorating" and "remodeling" I can really do before someone drops the big boot of reality on my tiny dream.  

Before Pinterest, there were magazines and scissors and colored folders.  I have been hoarding design ideas for years, planning what I would want for the day that I do own a home.  James, if you read this, remember to make a savings for me to DIY and rehab our house into a home. :D  When I started the Undersized Urbanite contest, I delved into folders and my Pinterest account for ideas.  You've seen the book nook, and the turquoise bathroom...I just made the chevron chair, and yesterday, I tackled another *I-can't-wait-to-make-this-for-my-own-house-someday*  

Branch Lamps.

A Bit of Bees Knees
I followed some very loose instructions over at A Bit of Bees Knees to achieve these in miniature.  And you know, they wouldn't be that hard to do in RLS either.  Another thing to add to the to-do list!!!

And here is my finished product: 


And here is how I made them.  
A couple notes first, 1) I tried to get pictures of all the steps, but we all know how bad I am at that, and I assume that you will know what glue on wood looks like, yes?  2) Please, if you use this tutorial, link back to me and give me credit and only use for your own personal use.  Don't try to make a payday off of my hard work.  It takes time to figure out how to make these things, and then more time to get pictures, edit them and then to write it all up here for you all to read.  Common courtesy. Okay?
Okay.  Off my soapbox now.

What you will need:
~A good sized branch from outside...probably no thicker than your pinky finger
~scrap wood for a base
~round wire with plug
~lightbulb
~solder
~soldering gun
~card stock for lamp shade
~floral wire (to make "harp")
~wood glue
~sandpaper
~super glue
~clamp

Here are my sticks, uncut, along with some scrap wood.  I believe these are the chair bases that go with the Coventry Cottage (you get some furniture kits with it)
I cut one of them to a size and shape that I liked and then used it to match the other one to it. I drilled a small hole in the middle of the base.  This is where the stick will go.  I purposely made it smaller than the width of the stick so that it would have a tight fit.
I whittled down the bottom of the stick a bit, checked for fit and then glued into place.

 Stick on a base!
 Here are the two lamps before all the extras.
Now, here is where I missed some parts...  You will need to pick a card stock and cut a lamp shade.  There is no magic number for the measurements.... just cut and shape until you like it.  For my harps, I cut a long length of floral wire.  At the middle of the length, I twisted a loop and then slid it onto the top part of the stick. From there, I made a shape that resembled this:

Then, I just fiddled with it until it was a tight fit in the shade.  Then, I took all of that off and dry brushed the branch and base in Snow White by Americana.
 Here is the lamp with the wire and the light bulb in place. To make the light work, I took a length of round wire that has a plug on the end of it, and a round bulb.  You can buy both of these items at HBS.
I split the wires apart and then stripped them, exposing the copper underneath.  I then soldered one wire around the threads of the bulb and the other to the bottom of the bulb.  There is a little nubbin on the bottom and that is what you need to make contact with.  After it cooled, I wrapped a small bit of electrical tape around the threads the wire back up. To attach the bulb and wire assembly to the lamp, I coiled a bit of the wire around the top of the branch and then secured with glue.  That was a bit tricky, because you have to do it with the harp and shade ON the branch.  This way, everything is secure.
I ran super glue down the length of the branch and pressed the wire into the glue.  I used clamps while it dried.  Not a fan of super glue on my fingers!
 Then they just needed to be put in their new homes!
 
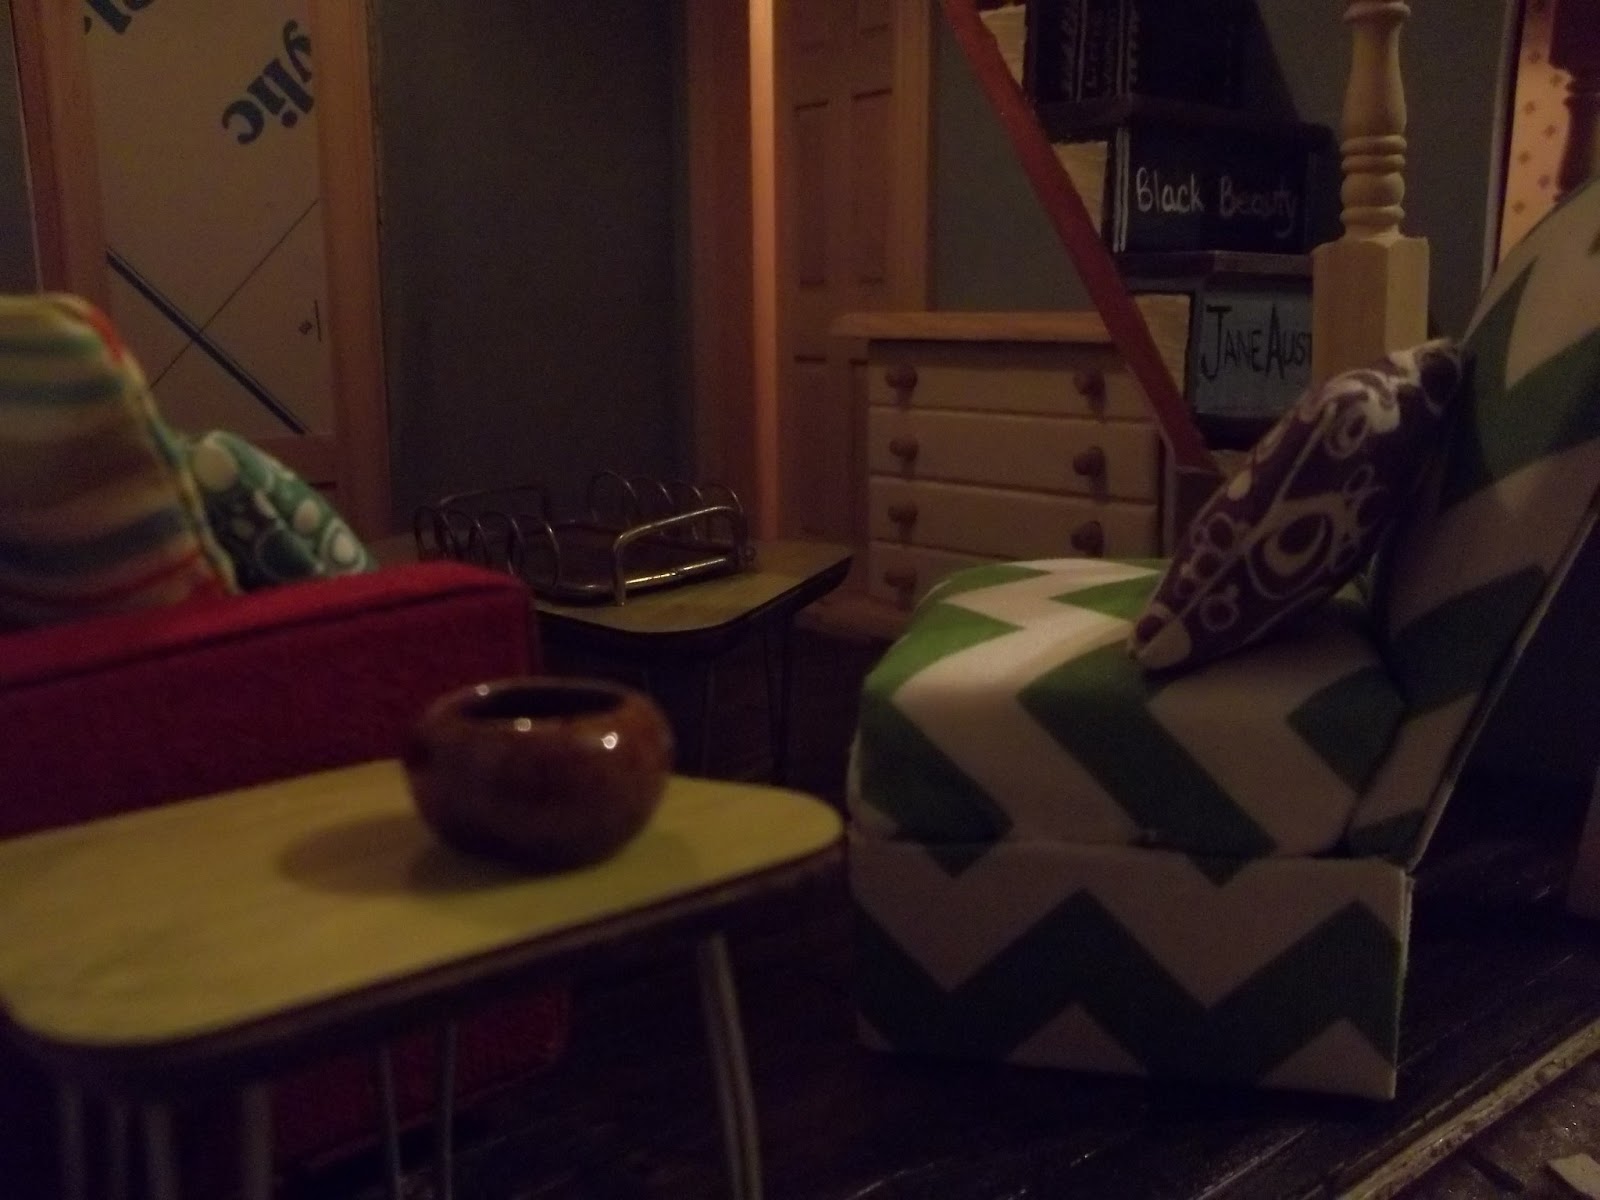
I love this shot here.  All the elements just look so cool.  :)

The lamps weren't the only thing I worked on yesterday, either.  I also added this built in for under the stairs.  It helps hold it in place and it's just a fun little spot for me to put things later.  :)  I also covered the bottom/back of the stairs with some card stock and the part that goes around the base, too.
The tray on the table got painted white and I added some scrap paper to it.  If you are liking the chair, the link to that post is here.
 It really is turning out to be a great room!
 At the end of my worktime, I started making preparations for the staircase to be fixed into place.  Of course, I still need to do the ceiling and the trim in the living room before that can happen.


Hope you enjoyed the post.  :)  I will be back soon with more miniature fun.  Give the branch lamps a whirl!  You can get all sorts of creative with the different types of trees and different lamp shades. :)

Sunday, March 3, 2013

Spring into Chevron!

 Another long week behind me.  I didn't get into the studio at all last week, until last night, and then I worked so hard and feverishly, that there are no "in progress pictures."  My apologies.  My littlest's birthday party is next weekend, so I have been buried beneath super heroes and card stock.  And I have some face painting work coming up, which is nice, but all of that was clouded by yet another funeral.  It seems, that so far, 2013 has it out for my family!  Let us all hope that with the coming of Spring come also the winds of change and good fortune.  The Little Boys birthday IS on St Patties day after all.  :D

So, LOOK WHAT I GOT IN THE MAIL!!!  Among all the crap going on, I treated myself to this beauty by Mary of Roslyn Treasures.  You should recognize the work, Brae owns a few of these exquisitely crafted blankets herself.  And seriously, the stitches are just as good, if not better, than what I would expect on a life size blanket.  And this one is so soft!!!

Now, obviously, being a total DIYer, I really did give my best efforts to make my own.  I also swore a lot.  And had cramped fingers.  And threw huge mini tantrums.  THEN Mary put out a coupon, right as I was all tangled up in thread...  IT WAS A SIGN!!!  (I will make it a point to show you my sad, twisted blanket at a later time)

 Her wonderful work of art has found a home in the book nook.  So pretty!

Most of what I worked on last night was the living room.  Here is the before picture (after I added the light).....

And here is the after.....   How much do you love that chair?!?!?!?
The couch is one that I got from Pepper of mitchymoominiatures.  I made a very simple grey suede slip cover for the main part of the sofa and the cushion.  I like that the sides are still red.  The striped pillows, dot pillows and table set (coffe and 2 ends) are all from Cyd and MiniModPod.  You can get tables, too, at her etsy shop or read about them here, in this post.


 It was late and the lighting in the studio is awful for picture taking.... basement in a hill, so there are NO windows.  :/

See how cute this table is?!?!  The bowl is from miniatures.com
 Let's all take a moment to drool over my scratch built chair.

*******moment********     wipes mouth and empties drool bucket

I have a teensy obsession with chevron.  LOVE.  IT.  Seriously, love it.  First person to get me a chair like this in real life, will be my hero on an obsessive level. Seriously...   ♥
 When I first realized I wanted a chair like this, I hit up Brae to see if she could help me track down a small print chevron.  And I had decided on green and white.  She totally came through.  And so did the seller on etsy that had it.  If you want some, you can get it here:  Awesome Chevron Fabric

Like I said, there are no in progress pictures, but here is the end(ish) result.  I still need to make the beading trim or whatever... you know, the little wirey thing that goes around the seams.  But, I didn't want to keep working on it and ruin my work.

 The inside is just some foam board and I used PUFFS for cushioning.  The skirt is very thin cardboard wrapped in the fabric.
 And, an incredibly exiting shot (for me) to finish off.  LET THERE BE LIGHT!  This is my first, fully hardwired house.... that will get finished.... The Orchid has lights, too, but it has been languishing on a shelf for a year now.
I will be back with more later, as I should get some time today.  MJ will be headed off to her next hostess soon so she will have one final post and pop in.  She does want me to remind you to go vote for Best Miniature Blog at about.com.

Saturday, February 23, 2013

Accessories of travels and deflection....

This year has been a hard one on my little family.... James lost his dad less than a month ago and the punches just keep on rolling in since then... I have found it hard to get time to work on my house, both mini and big, and my grand plans with MJ have fallen through several times due to one thing or another... So when I got the chance to work in the studio today, I jumped on it, and a lot of things happened.

For starters, I got my HBS order the other day so I got to finish the sink first thing.

Love this "paint-it-yourself" clear stuff!

 I scratch built the sink out of odds and ends... the legs are shortened stair posts that I turned upside down... I saw this really great sink in a magazine and the image stuck with me... The legs were more of a round chunky, but hey, you work with what you have some times. :)


I forgot to cut the sink whole in my earnest to make the structure, so I had to do it after... what a pain!


I sanded the whole thing really well and then painted, and sanded and painted and sanded, and painted and sanded and then coated with Triple Thick.


And then I accessorized.  The bathroom...      .....remember to click on the pictures to make them bigger and see more!!!

Tall white vase from HBS, pink glass from HBS, minis in basket are from a swap...from Italy (I will remeber person eventually), fern from Jane S)
 It was so nice to put homeless minis in a home!
Too cute!
 I should have edited photos, but I'm tired and have a lot going on.... Tough.  ;)

Faucet set from HBS, glasses from HBS, toothbrush from random stock, soap dish from random stock

Somebody! Quick!  Shrink me for a bubble bath and wine!!!!
I love the table.  Love love love.  L. O. V. E.
Closer view of the scratch built table.

Vase is actually a pitcher that I took the handle off of.  Doily is from HBS and I dabbed some purple paint on it. :)

TA-DAAAAAAA!!!!  I want to live in this bathroom and it isn't even done yet.
 ...and the bedroom.....
Print outs from the interwebs, and the postcards are actually from Italy! Eeep!

Mardi gras masks from Jane, box from Italy, scooter from Italy, fan bottle from Dales Dreams, Dog from Monopoly. :D  Aussie flag from Jazzi!

Poster from Italy and perfume set from Dales Dreams

Lamp from Brae.  :)

PEA!  I found this at a garage sale!  Ornament score!!!

I love the wood stain on the doors in this room.  :)  And the froggy in the hallway.

 ...and the hallway....

I love how the house is coming together so far.  And how the attic is acting as my actual storage space.  HA!


 And while did this MJ was had at work on this:


Remember to go vote at about.com for the best miniature blog! MJ and I vote everyday.  :)