Sunday, August 15, 2010

Weekend #5: August 8th, Cutting up some wood!

The only objective for this weekend was to get the wood cut up to do the kitchen and the bathroom. I needed to cut various pieces for the walls and the roof. I also needed some various pieces for the counters, stove, sink, door and trim. Windows needed to be reworked and the rooms needed to be dry fitted so I could figure out furniture. In this picture, you can see that I have attached the roof. It is being weighted down and taped down. Unfortunately, it is a LOT flatter than I had intended it to be. I meant for it to be the same angles as the rest of the roof line.... but this house has different plans for itself. The bathroom will need some fudging again. A removable interior wall for one! That staircase you see there, will actually lead into a hallway PASSED the bathroom to an exterior door. That door will lead to a sun deck that goes over half the garage and the kitchen. We had something like this on a house we rented in Idaho....except it came off the living room... I think it will be a nice addition. I haven't asked this house if she still wants the tiny side deck off of the craft room. Honestly, I'm afraid the answer will be yes and she already takes up ALL of my workspace. GAH!!!


The bathroom wall needs to be wallpapered and sanded down. I also need to cut one piece to now allow for the necessary hallway and door. Hopefully, that will get tackled next weekend.

Saturday, August 7, 2010

August 4th: A mini bed, fully dressed!

This is mostly a picture post. I just wanted to share with the blogosphere, this little nugget: I made my very first dressed bed on Wednesday, August 4th, 2010. I'm no seamstress, but everyone keeps telling me how great it turned out.

The mattress was a simple design of some foam board, a thin layer of sponge and then wrapped with white fabric. I glued this fabric in place and used flat head pins to hold it in place until it dried.

I used some old scrap fabric that my mom gave me to make the patchwork quilt. 3 squares sewn together, then 3 rows sewn to each other. I put on a fourth row to resemble the folded over part when you make a bed. I stitched a blue backing onto the top of the squares, then turned it inside out and finished the seams of with the brown edging stuff.... bias tape, I think.

The pillows are made from a white fabric I had and filled with birdseed. The pillowcases were made in the same fashion with the blue fabric, turned inside and then the edges folded over. At some point, I think I will stitch the folded part to the main part of the pillowcase. The white pillow was then stuffed inside the pillowcase and "fluffed."

The throw blanket at the bottom of the bed is the same fabric as the pillowcases. This was folded properly, ironed flat and then joined the quilt on the bed. A pulled it tight, situating it just right and secured it with a gazillion flat pins. To keep the edges of the blankets straight down, I pulled masking tape taut across the bottom of the bad and attached it to both edges. When everything was in place, I drowned it in aerosol hairspray.


Once the hairspray was dry, I removed all the pins, placed the pillows and this was the finished product:


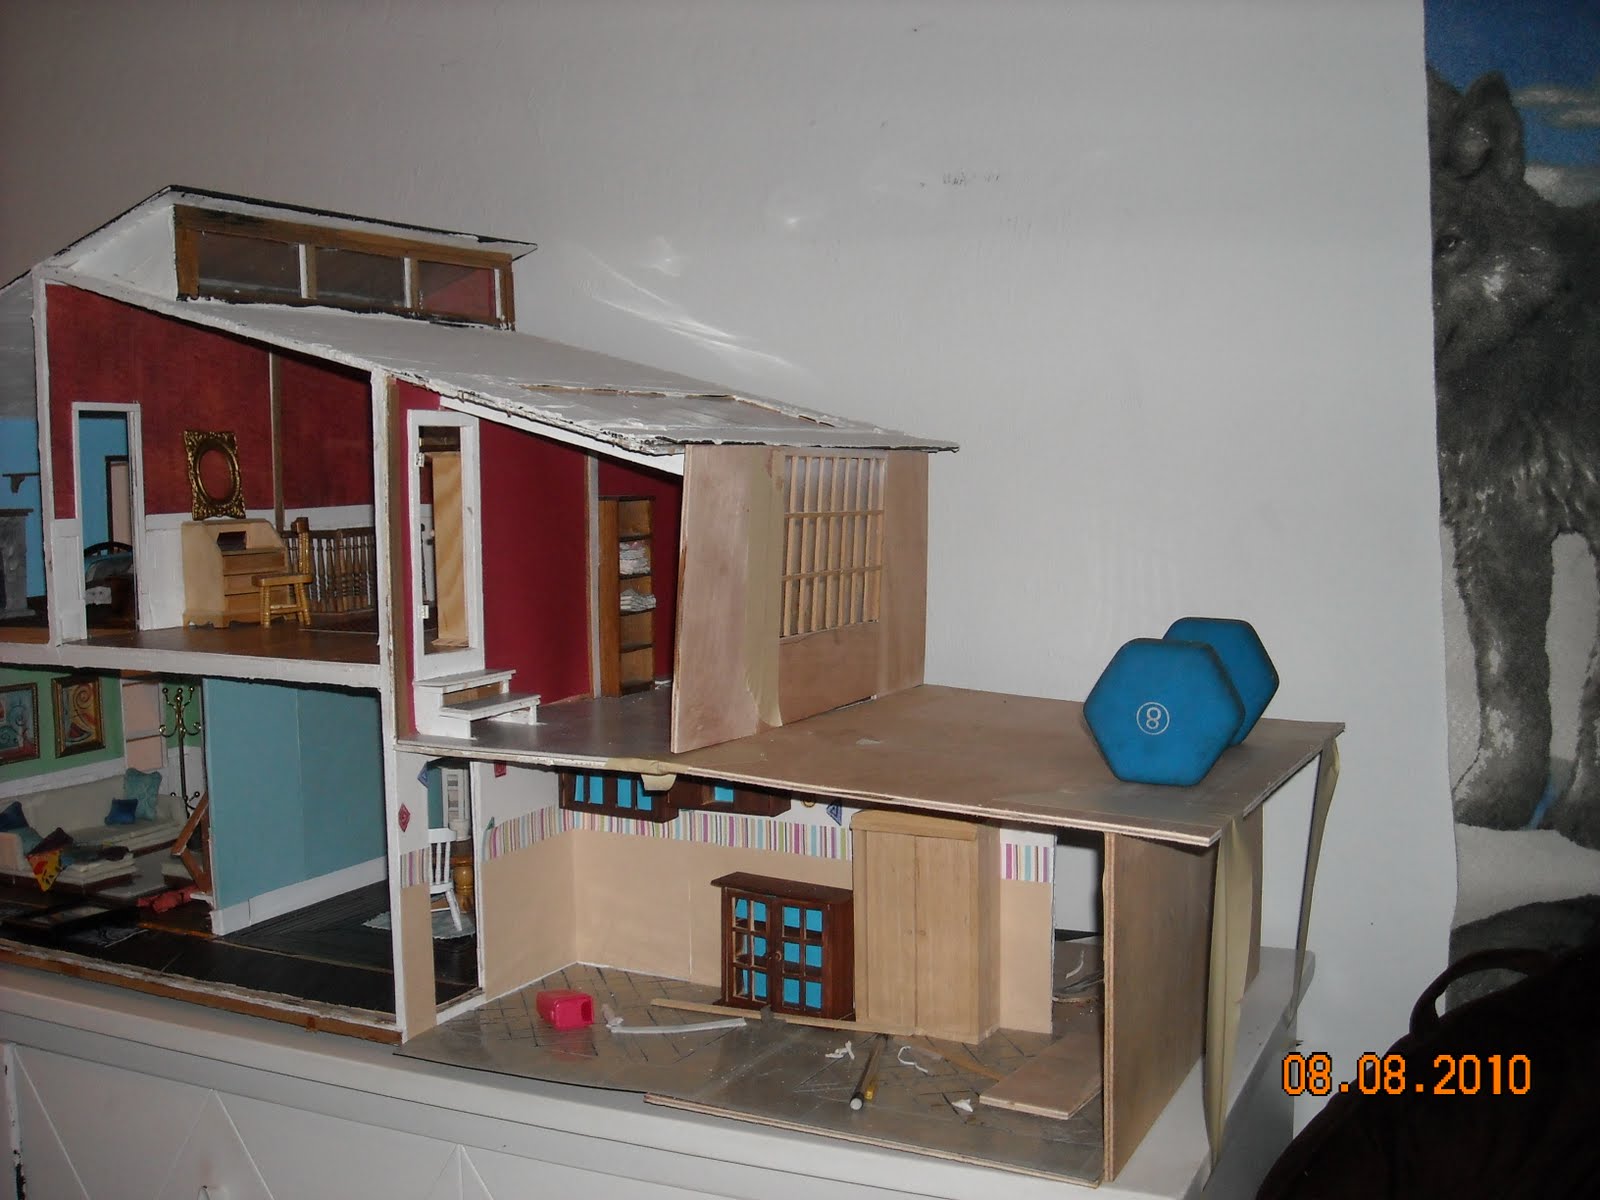
Here it is in it's new room with some of the furniture!

Friday, August 6, 2010

Weekend#4: August 1st, The bedroom

I'm not sure what day exactly I did the bedroom... I think it might have actually been Monday/Tuesday. Yes, that's it. The family had a yard sale on Saturday, so with my earnings, on Sunday, I bought some much needed stuff. I bought staples like paint, glue and scissors; along with fun stuff like fabric, skeletons and tiny TV. The BIGGEST purchase was a big ol' bucket of joint compound. I got this to do the ceilings and the exterior of the house. Instead of sanding all the siding down, I plan on smoothing over it all with the JC and giving the house a stucco finish. The pillar/column that goes over the door is going to be covered in river rock and the whole house is going to get this golden brown biscuit color. It looks great.

So, Sunday night, I went ahead and put JC on the roof and then on the ceiling/wall of the bedroom. That was all I could do since the stuff needed to dry overnight. The next day, while the JC was still drying, I made the floor for the bedroom. I kept it in a natural wood color and filled in the empty square with a piece of brown felt, for carpet. The way it is placed, it looks like an area rug. The craft stick part of the floor got one coat of varnish.

When the JC was dry, it got a couple coats of paint (sky blue) and the other wall got some dark chocolate wall paper. Trim was done in the opposite colors. I am going to turn the little alcove area into a closet and use hanging fabric as a curtain, instead of installing a door. The closet will have a rod for hanging items, some shelves and a shoe rack.

This room is also getting a fireplace!


Monday, August 2, 2010

July 29th: Tiny details

First of all, HAPPY BIRTHDAY TO MY LITTLE SISTER!!!! She turns 22 today.

Secondly, I spent the morning doing details in the dining room and den. I couldn't do a whole lot since I was going to have to leave soon. Our family had a garage sale and I needed to go prep for it. (Writing this on August 2nd, I have been deprived of mini's for 3 days now!!!)

So, on Thursday morning , I managed to make curtains, paint the chairs white and put "wicker" on them, make a vase (it will have bright pink flowers in it). ... I also put in dividing window pane things and some rugs. Here are pictures of those developments, plus some more of the house. I am hoping to get some more trimming done today in the various other rooms.... hmmm, and at some point, not sure when, I stained the kitchen cabinets.


July 27th and 28th: Knock out study


I realized that I never took pictures with all the trim up! It makes a big difference, in my opinion. Keep an eye out for the finished trim in the living and dining room in future pictures!

This night and day were very productive for the library/study... or as my Dad calls it "The Den." It started with going over to James' mom's house and finding the perfect material for the floor and the perfect paper to put on the walls. The floor is made out of a sticky vinyl tile that happened to have a wood grain finish. I cut out the corresponding squares and filled in the floor. I also put some up top in the window ceiling cut out thing. (Enjoy me terminology!) The ceiling got a sand colored paper, which I really liked, except for the paper slipping a bit and causing a rather rough and obvious seam. *snarl* How to fix that???

I also cut out the paper and installed on the walls along with all the door trim. After just this little bit of work, I called it quits for the night.


In the morning, after the kids were settled down for quiet time, on went Supernatural * =) * and out came the craft sticks and scissors. A gazillion craft sticks later, bunch of white paint, masking tape and tacky glue.... the DEN gets white wainscot paneling to match the flow of the house.
My three year old son took this picture to the left while shining a flashlight into the room "so you guys could see the house." He doesn't quite understand that this is, indeed, the point of the flash on the camera. =)


It also gets an original and unique "distraction" from that nasty seam. This is my favorite part of this room.

Thursday, July 29, 2010

July 25th and into July 26th: Trim and a chandelier


I spent Sunday night catching up on trim in the house. I put ceiling trim up around the living room and dining room and trimmed out the window in the dining room. I think the walls only look completed if there is a divide between the wall and ceiling. Guess I am destined for crown molding in RL, eh? I also painted the ceiling medallion for the dining room and I have great plans for it!


While flipping through some pictures of dining rooms on BHG's website (www.bhg.com) I came across a fabulous idea for a candle chandelier! They had a lovely piece of black wood suspended from chains directly over the table, and on this board were dozens of white pillar candles. It was amazing! I just knew it was something that I would have to reproduce in the Highland.


I decided to go with a rustic round design, instead of the steel clean lines the original designer used. I used a top to a single serve yogurt container as a template. When I had installed the diagonal wood floor the day before, it needed some trimming. The scrap from that was exactly the right size to wrap around the outside of the lid. I secured it with white tacky glue. Once it was dried, I flipped it over and laid craft sticks across it. I then trimmed them to fit the circular pattern and glued them into place. After this application was finished drying, I stained and washed the wood. It first got a coat of the same walnut color used on the floors, followed by a coat of mahogany and then a white wash. I had some hemp cord in my pile of goodies and I used this to make 3 like sized braids to act as my rope. After several attempts to fasten them on with tacky glue (and oodles of swearing and grunting and stamping of my little feet) I finally PERMANENTLY secured the ropes with super glue!


Then there was lots and lots of trimming of birthday candles. I cut them into various heights and stripped the top part to expose the wick. Once I had what seemed a respectable amount and they all looked satisfactory, they were glued in place on the base. I glued them in the a randomized fashion around a mirror I had placed in the middle. Once all candles were placed and dried, I poured actual beach sand around them to fill in the space between the candles and the edge of the base.


Now, remember the medallion I painted? I punched a hole in the middle of it and then used a needle threader to pull the hemp cord through and secured it with some super glue. I love it!! It is now permanently suspended from the ceiling in the dining room. Glorious little contraption! I am hoping to get more pictures (better ones, really) when ever we get a new camera.


Weekend #3: July 24th and 25th Modern sofa, white wainscoting

It hardly seems like only a few days have passed! I have gotten a lot done this week. For starters, over the weekend I was a bit bummed and I let my mini obsession take over and work it's magic to cheer me up. The result was the following:


I made this while listening and sometimes even glancing up to see, Supernatural. LOVE that show! I had absolutely no idea how to go about this really, so I just sort of tackled it. I knew I wanted a couch with the chaise extension and the ottoman was an afterthought. I went off the tutorial that is on Jennifer's Printable's site. (www.jennifersprintables.com) It seemed fairly easy. I used foam board for the construction and some of that foam wrap stuff that breakables come packaged in. I wrapped it all tightly with that fabric and used Tacky Glue to secure it. The base is made out of mahogany stained craft sticks. The pillow was hand stitched and filled with bird seed. I love this sofa! And it did an amazing job at cheering me up.

After some work on the house itself (cutting of many more craft sticks for the paneling) it got a home in the house AND accompanied by some art work. I really like the "paintings" that I put on the wall above the couch, for they aren't really paintings at all! They are scraps of wallpaper.


Art work joins the sofa!


Originally, I thought the back portion of the house would get carpet, but this house decided it wanted something else. We went with some more hard wood flooring. this time, a diagonal pattern of wider craft sticks. I used gold embossing foil that I had laying around, to cover up unsightly gaps and to use as a spacer between the changing layouts.

Here is a shot with it freshly installed, no stain yet:


And here are a few of the living room nearly finished! I say nearly, because I have YET (even as I am typing this) too tackle the wainscot that goes around the bookcase. It will take a bit to work up the nerve (and the time) to do that!!


And a final shot with finished floors and furniture! Trim to come!